Master your stickers: The ultimate care guide
Welcome to the Masterstixs sticker care guide! Here, you'll find everything you need to know to correctly apply and look after your custom vinyl stickers. Our aim is for you to feel confident and achieve the best results every time, ensuring your designs last as long as possible.

Why proper care matters
Whether you're a seasoned crafter or just starting out with stickers, applying them correctly and knowing how to care for them is key. This guide is crafted for all our Masterstixs family who want their stickers to look fantastic and last for ages. We’ll help you avoid common mishaps like bubbles, wrinkles, or designs that just won't stick, ensuring your creations stay pristine.
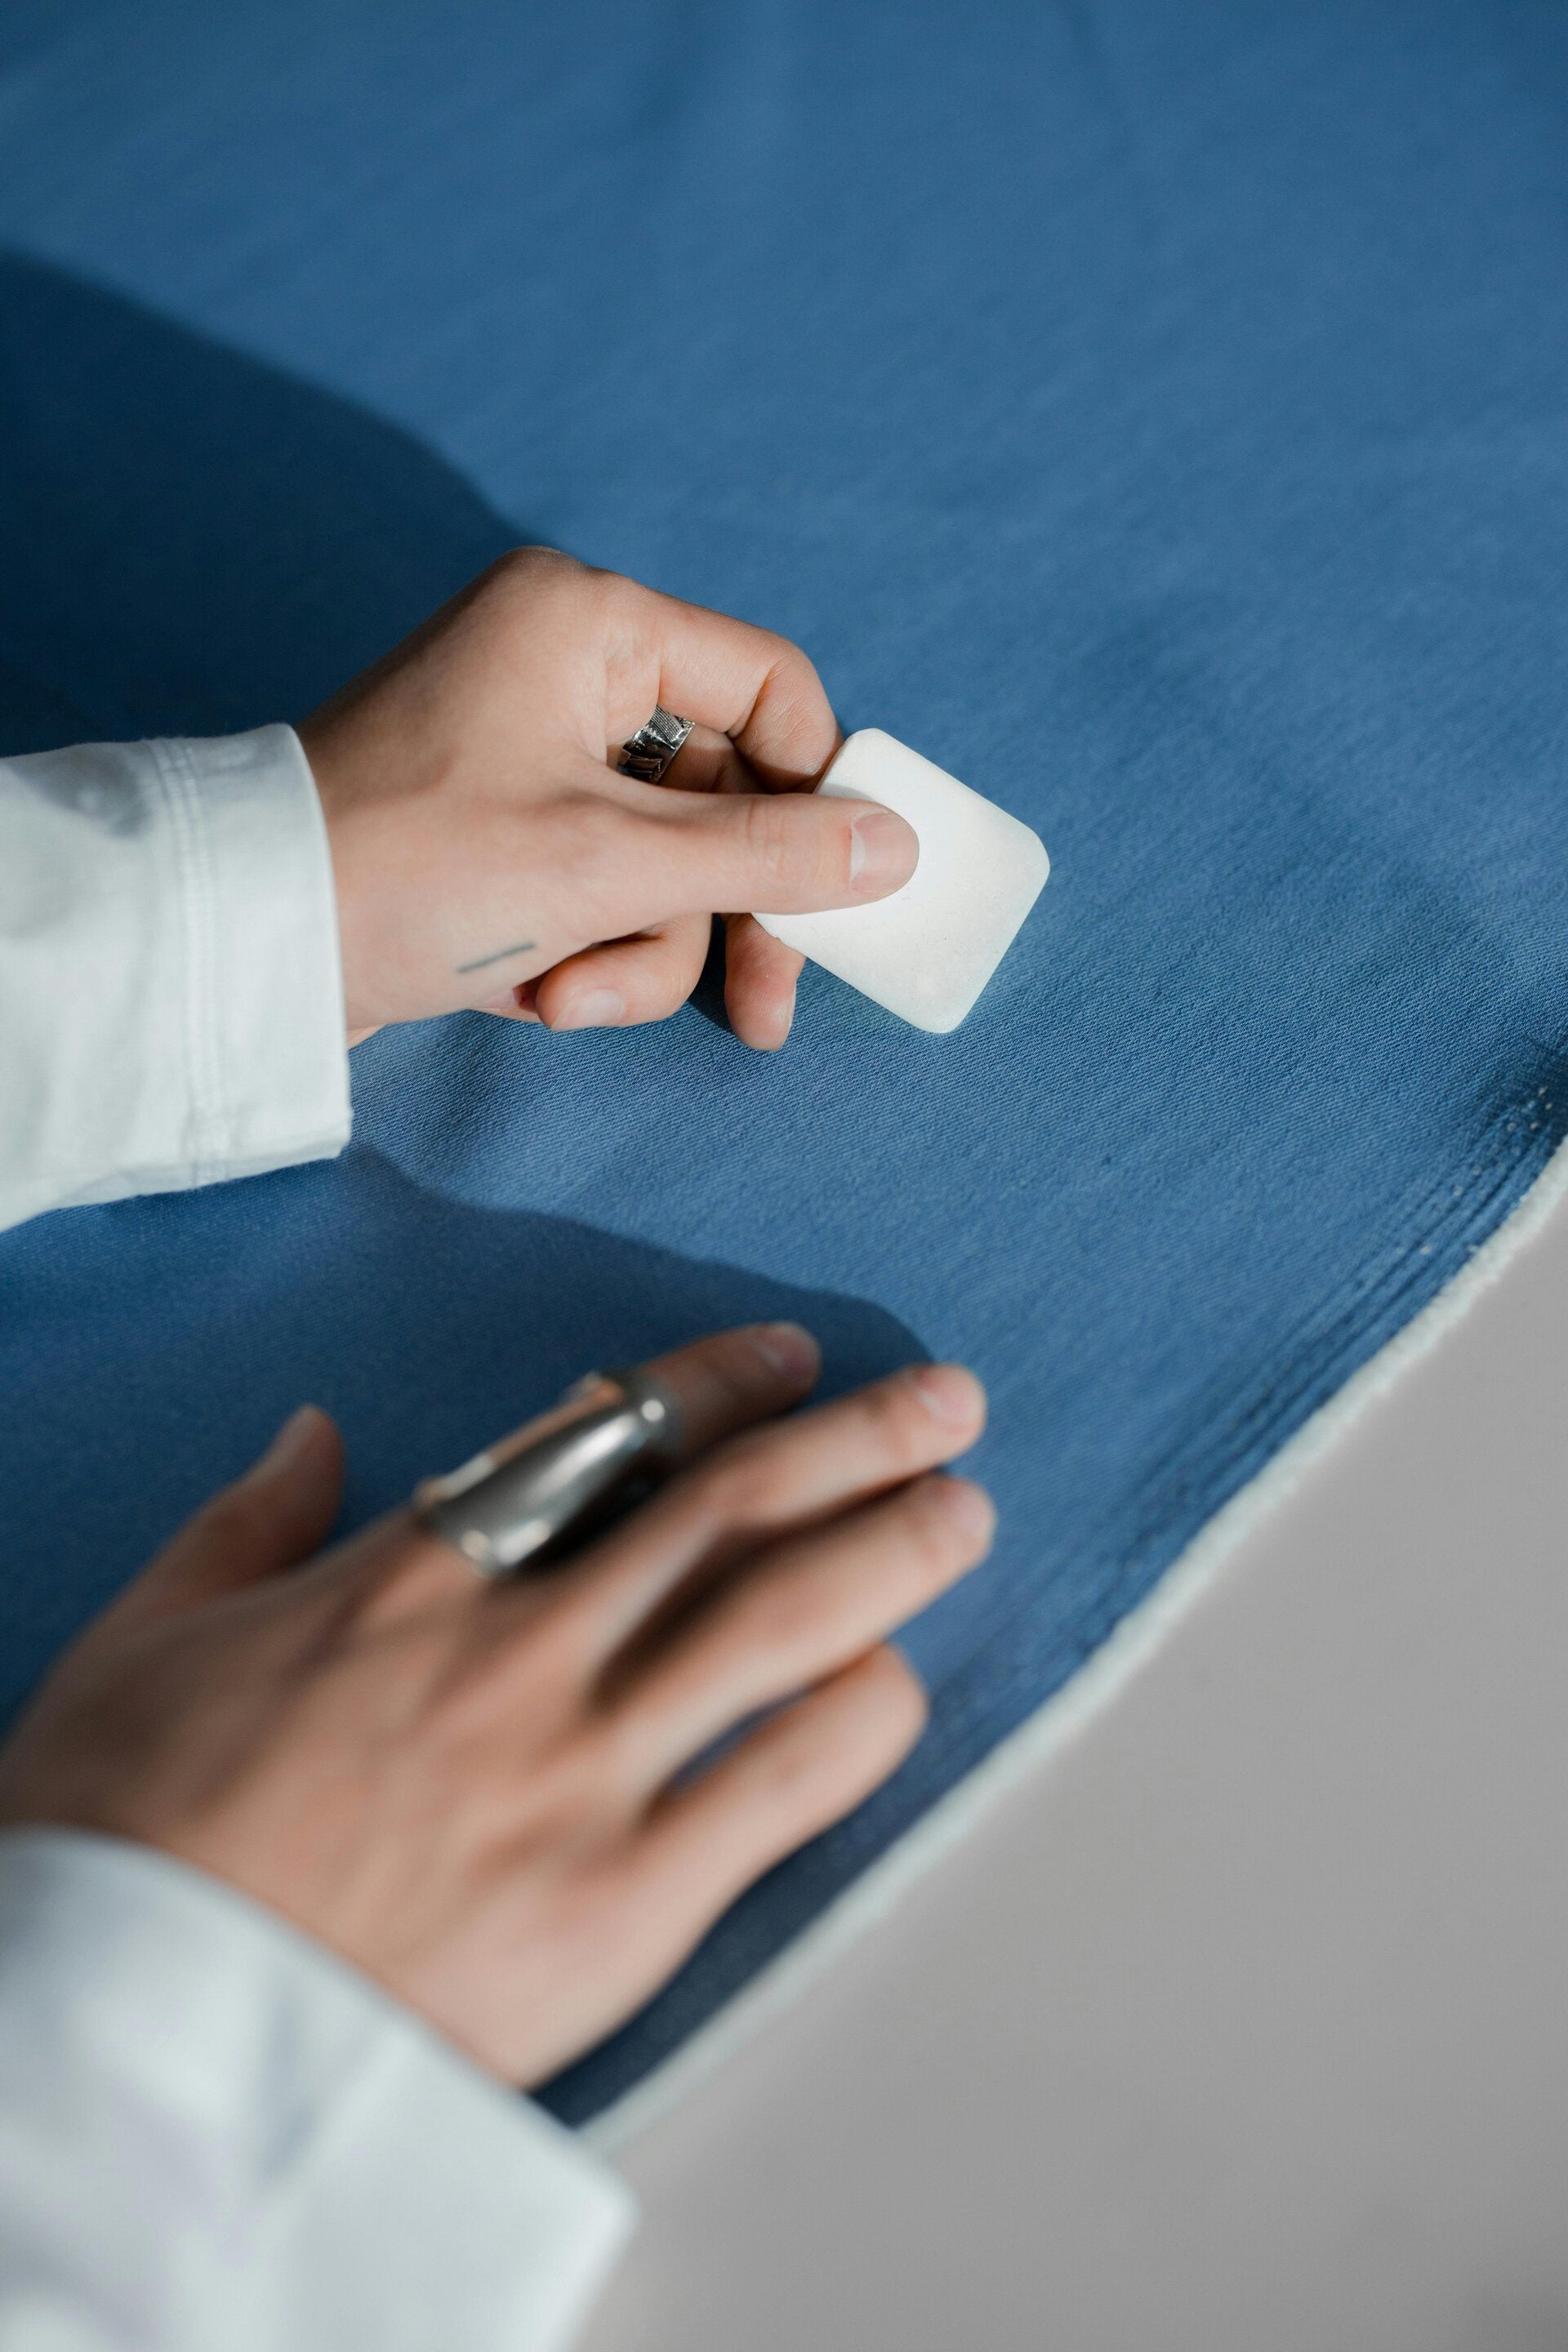
Prepare your surface
The foundation of a long-lasting sticker is a clean surface. Ensure the area where you plan to apply your sticker is spotless, dry, and smooth. Dirt, dust, or moisture can stop the adhesive from bonding properly, leading to peeling or an uneven finish. Avoid touching the adhesive backing too much, as oils from your fingers can weaken its grip. A little preparation goes a long way!

The perfect application
Applying your sticker carefully makes all the difference. Avoid rushing the process. Peel the backing slowly, position your sticker precisely, and then smooth it down from the centre outwards to push out any air bubbles. Don't try to peel and reposition your sticker once it's laid down, as this can severely reduce its stickiness. Applying stickers in extreme hot or cold conditions can also affect adhesion, so choose a temperate environment for the best results.
Need more tips?
We've put a lot of care into making this guide easy to understand and incredibly helpful, guiding you step-by-step so you feel confident and get the very best out of every Masterstixs sticker you purchase. If you have any further questions, feel free to check our FAQs or contact us directly.